Forget about party favors and musical chairs. The cake is always the crowning achievement of any birthday party. But if your baking prowess would land you as a contestant on Netflix’s Nailed It! rather than a picture-perfect Pinterest cake, you’ll need something simple to dazzle your guests — and that will taste good, too. If you’ve seen the unicorn cakes that are so popular lately online, you might think that you’ll need mythical powers to pull off such a stunning and sweet treat…but you’d be wrong. As it turns out, making a unicorn cake is so easy to make.
Maybe it’s the mane, or the golden horn sculpted out of fondant. But don’t let all the elements of the unicorn cake deter you from making this decadently delicious dessert. As it turns out, making a unicorn cake isn’t that complicated, according to Liz Marek, a pastry chef, cake artist, and creator of the Sugar Geek Show. “Anyone can make the unicorn cake even with no experience,” says Marek. “Kids and beginners absolutely love getting creative with colors and patterns and expressing themselves and their unique ideas!”
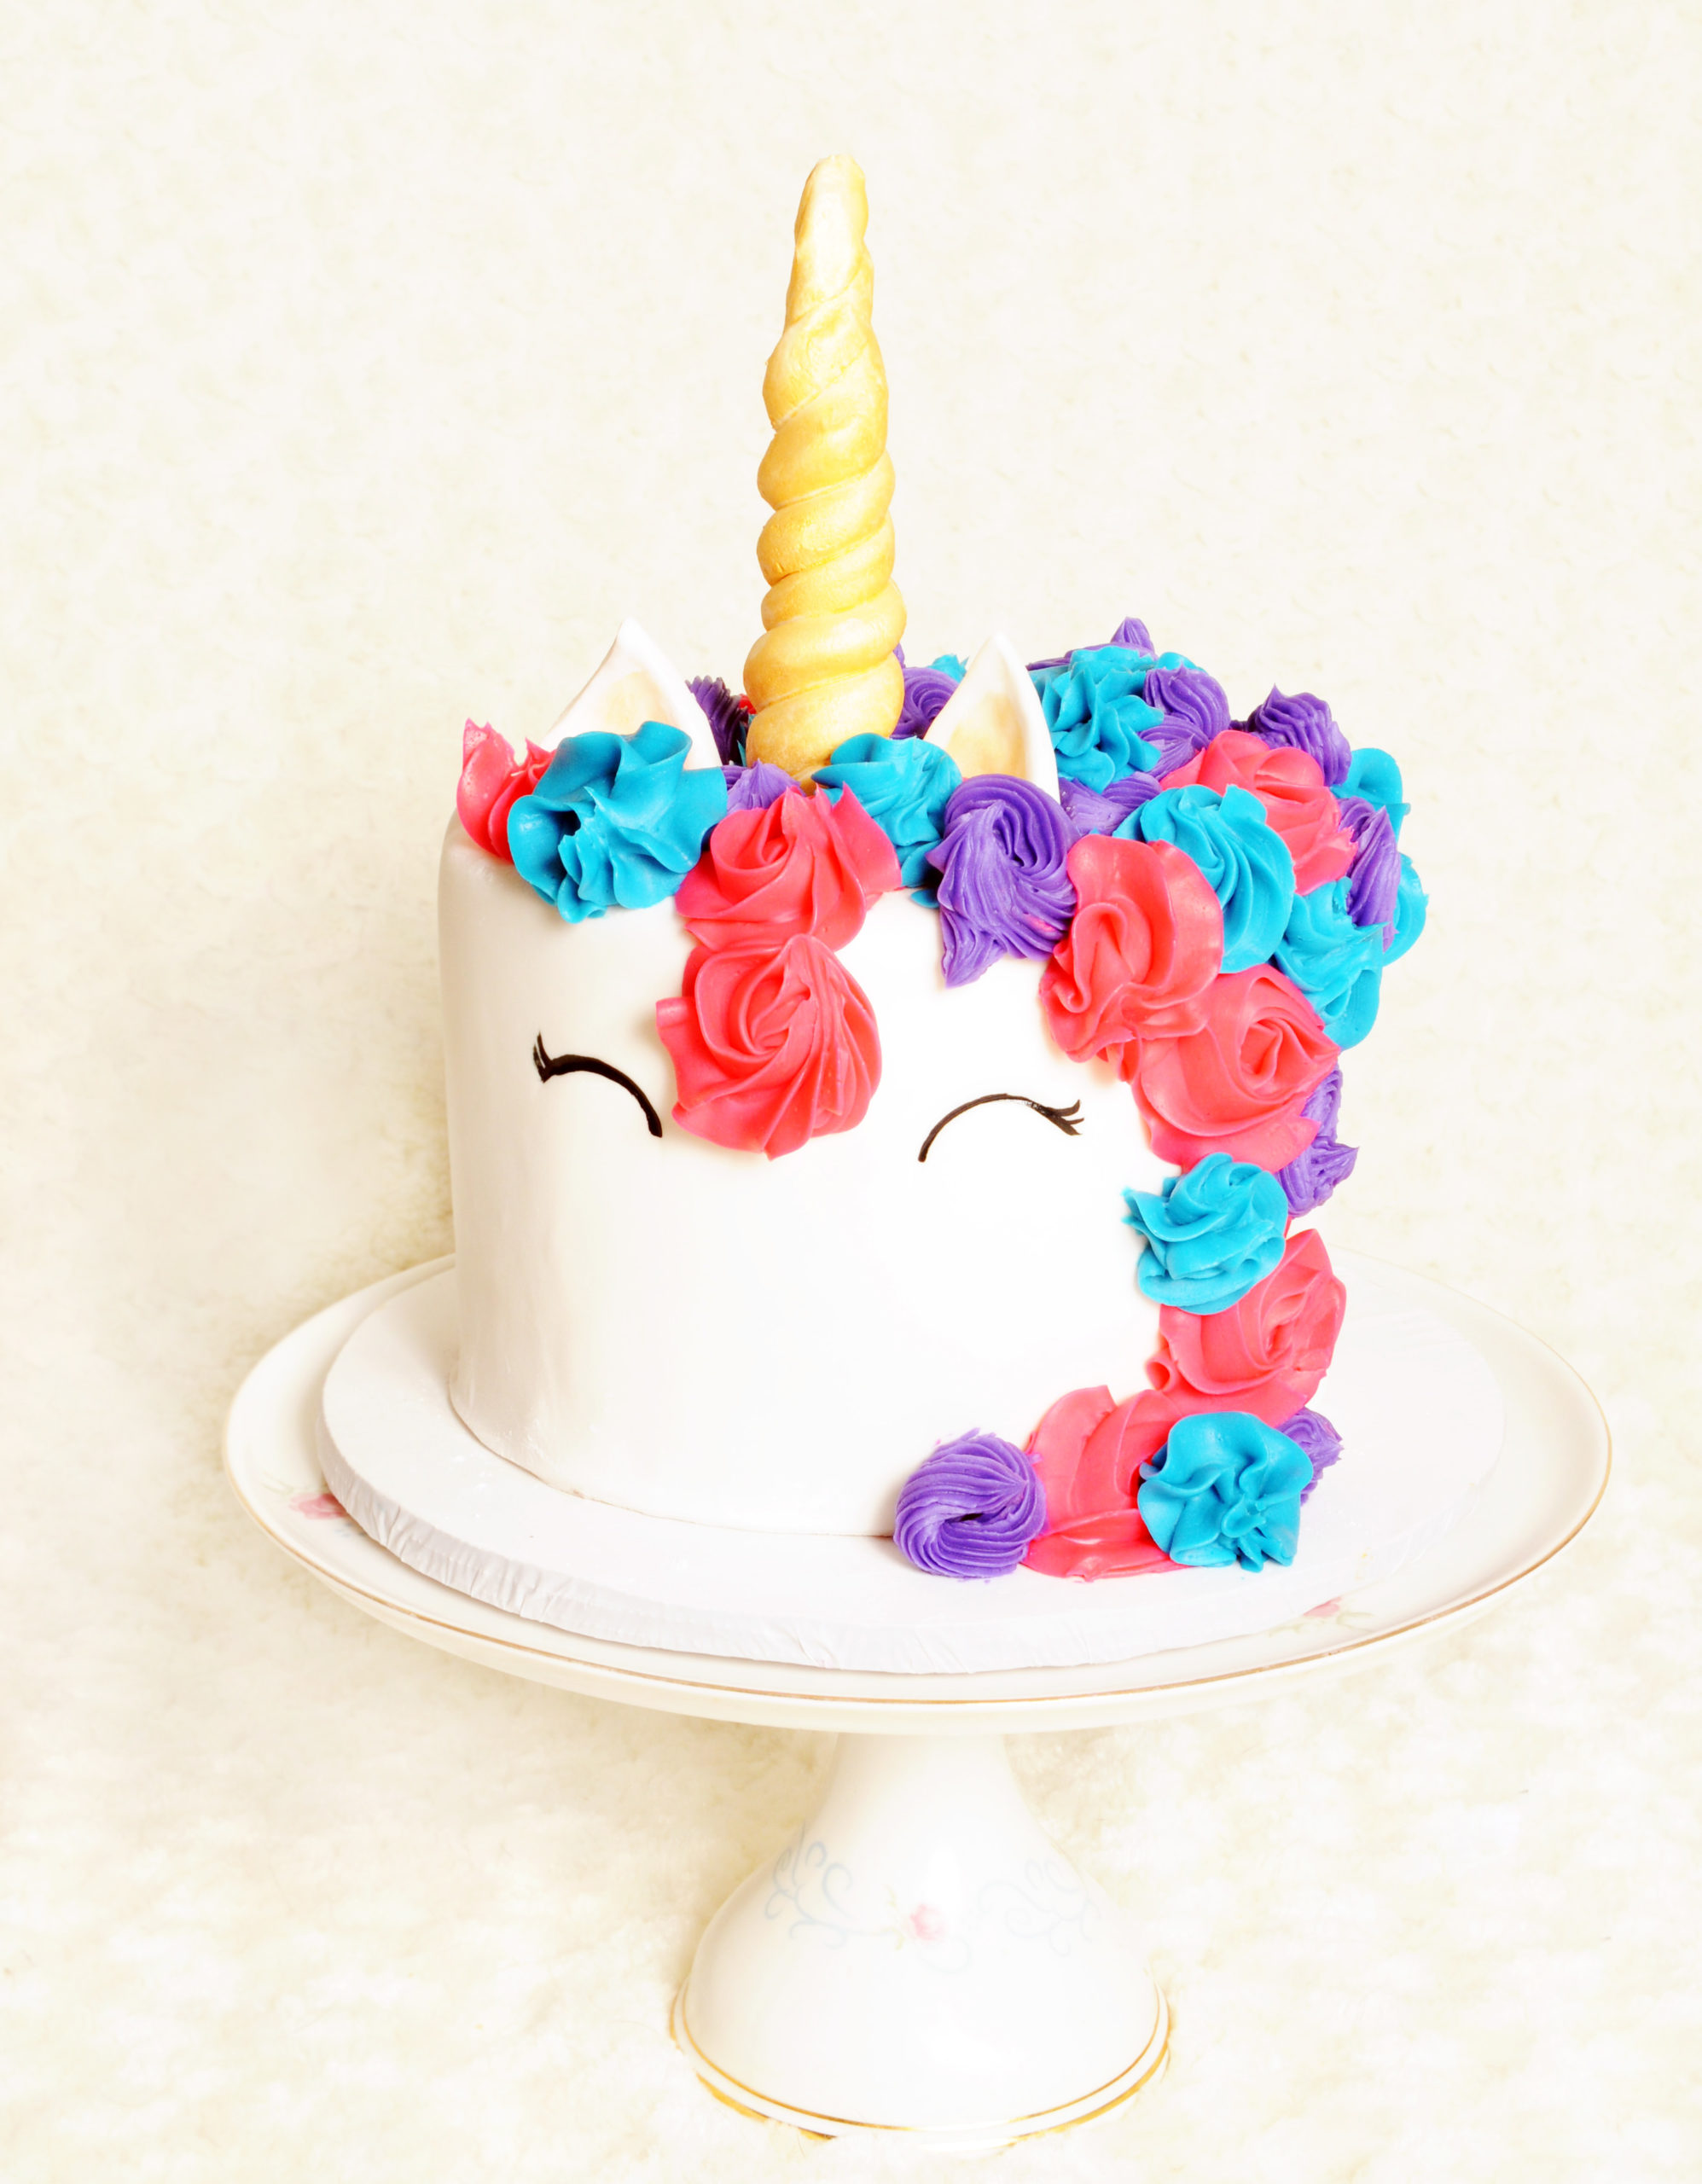
Follow the step-by-step instructions for constructing a rainbow unicorn cake that your kids will love.
Unicorn Cake
Instructions
MAKING THE BATTER
- Prepare your favorite white cake batter (Pro tip: Vanilla cake uses egg yolks so the batter is much more difficult to color accurately!
- Divide cake batter into 6 bowls.
- Add 1-2 tsp of food coloring to each bowl and mix (pro tip: use a professional grade gel colour like Chefmaster or Americolor to achieve vibrant results!
- Grease the inside of your cake pans.
- Pour each colour into a separate 6 inch cake pan.
- Bake according to recipe directions, until a toothpick comes out clean.
- Let cool 10 minutes before removing from the pan.
- Freeze 1 hour before frosting or wrap in plastic wrap and chill overnight.
MAKING THE BUTTERCREAM
- Prepare your favorite buttercream recipe.
- Keep half the buttercream aside and leave white.
- Place a small amount of buttercream onto cake board or cake stand to help adhere the first cake layer.
- Stack the cake by alternating layers of cake and buttercream.
- Frost the exterior of the cake as smooth as possible.
- Portion remaining buttercream into 3-6 bowls (depending how many colours you want).
- Add 1-2 tsp of food coloring to each bowl and mix (pro tip: use a professional grade gel colour like Chefmaster or Americolor to achieve vibrant results! For very vibrant colors, let stand 1-2 hours between mixing and using the frosting as the color will intensify over time.)
- Lay out a sheet of cling wrap on your counter.
- Spoon each color into a straight line leaving several inches of cling wrap on each end. Abut each color directly against the last, until you’ve added all your colors.
- Roll the cling film into a firm log and twist each end well to close.
- Prepare a piping bag with your desired piping tip (pro tip: 1M is the most common tip for this application).
- Cut one end of the log and carefully place into piping bag, cut end towards the tip.
MAKING THE HORN
- Place a cake pop stick into the top of the cake, about 2inches from the front.
- Roll out white fondant into a snake, being sure one end is much fatter than the other.
- Wrap the fondant snake around the cake pop stick.
- Use your hands to fill in any gaps or holes in the fondant.
- OPTIONAL: paint horn using edible gold.
MAKING THE EYES
- Roll out a small amount of black fondant into two thin logs of equal length, between 2-3in) that come to a point on both ends.
- Form the logs into two mirrored half circles.
- Pick up the outside end of each log and twirl upwards to make the eyelash.
- Let sit for 15-30 minutes to firm up.
- Use a toothpick to mark on the front of the cake where you want the inner corner of each eye to start.
- Attach each eye one at a time, starting at the inner corner.
- Press gently into buttercream to secure.
MAKING THE MANE
- Using the bag you’ve prepared, begin piping rosettes onto top and back of cake until desired coverage is achieved.
- Pipe dollops to hide any holes you don’t like.
MAKING THE EARS
- Roll white fondant ¼ inch thick.
- Use a small heart cookie cutter to cut two ears.
- Pick up one ear and gently pinch the two round segments together. Repeat with other ear.
- Insert a toothpick/skewer, leaving at least 2 inches exposed, into the fold you created, for support (Pro tip: replace toothpick with a piece of uncooked spaghettini noodle to prevent injuries to small children!)
- OPTIONAL: paint inner ear with edible gold or petal dust.
- Secure ears into top of cake.