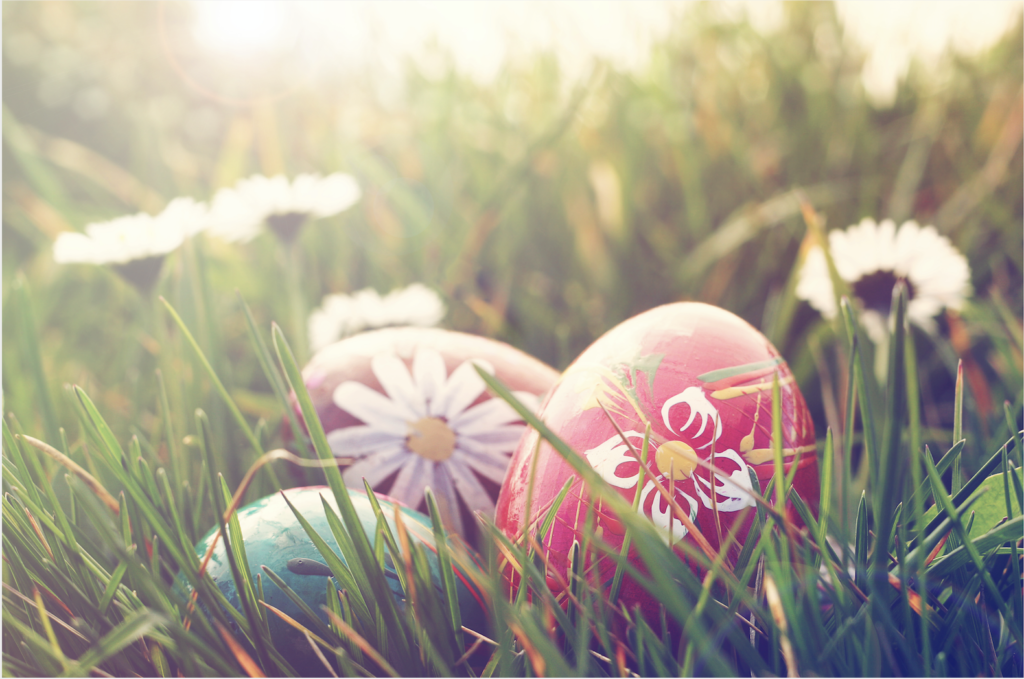
Being the parents of seven, designers for CB2 and hosts of HGTV’s Home by Novogratz, Bob and Cortney Novogratz definitely understand how hectic it can be when trying to get the family together to do a project, or at any time for that matter. But Easter is right around the corner, and those Easter eggs won’t boil or decorate themselves. That’s why they’ve teamed up with the American Egg Board this Easter – to bring the focus back to family and fun, creating egg design tips and recipes that are fun and easy for the whole family to do together.
1. Designer Easter Eggs
Getting started is easy. Simply hard-boil some eggs, grab the kids and get creative. Whether a beginner or an eggspert, these half-dozen Novogratz tips will inspire families to turn dyed eggs into unique and personal designs with minimal effort.
2. Nature-Inspired
Use leaves or flowers to create a unique design. Simply place your chosen leaf or flower on the outside of an egg and slip it into a pantyhose, tightly securing the hose with a knot. Lower the egg into your chosen color. Leave eggs in the dye until you’ve achieved your desired brightness and then remove from dye.
Helpful Hints
- Cut panty hose into squares and tie a knot at the bottom.
- When tying the open end of the panty hose, ensure that it’s tied as tightly against the egg as possible, so the leaf does not slip during egg dyeing.
- Use scissors to cut open the nylon to easily extract the egg and leaf.
- If leaves aren’t available, try fresh herbs like cilantro, parsley or sage.
3. Family Portrait
Tape tissue paper onto regular printer paper and print individual family photos or portraits onto it. Cut the photos out and apply them to the outside of eggs using decoupage glue (Modge Podge) or craft glue. Put them in individual egg holders on plates for instant place cards!
Helpful Hints
- Cut out photos in a circular/oval shape for easier application to the egg.
- Modge Podge, or craft glue, can be found at a local craft store.

4. Stick To It
Take rolls of craft tape and start wrapping. Mix and match different colors and patterns of tape to give eggs a modern edge.
Helpful Hints
- Also known as “Japanese Washi Tape,” craft tape can be found in the scrapbooking section at a local home or craft store.

5. Egg Scramble
Create word scrambles by placing number or letter stickers on eggs before dipping then into egg dye. Remove eggs from dye once desired color is achieved, gently removing the stickers from the outside of the egg.
Helpful Hints
- Number and letter stickers are available at any craft, home or office store.
- Avoid numbers and letters that are paper stickers, to ensure stickers come off cleanly and don’t dissolve in the egg dye.

6. That’s A Wrap
Thinly coat a piece of bubble packaging with acrylic paint, then roll egg over the paint. Let the paint dry on the egg, then repeat with another color, if desired.
Helpful Hints
- Paint a very thin coat of paint three to four bubbles wide to ensure clear “bubble” imprints; dab bubble wrap with a paper towel if paint looks too thick.
- To layer color, make sure paint dries on egg between each coat.

7. Dainty Designs
Find beautifully patterned paper napkins and cut out the design. Apply them to the outside of the egg using decoupage glue (Modge Podge) or craft glue.
Helpful Hints
- Colorful paper napkin patterns can be found at your local home or party store.
- If a pattern is intricately detailed, use a cuticle scissors to cut out the design.


